What Happens During a Panel Replacement From Start to Finish
The steps to expect during electrical panel installation usually include an inspection, power shutoff, removal of the old panel, installation of the new panel, circuit reconnection, inspection, and power restoration. The full process often takes one full day, depending on the home. Knowing what happens ahead of time helps you plan and avoid surprises.
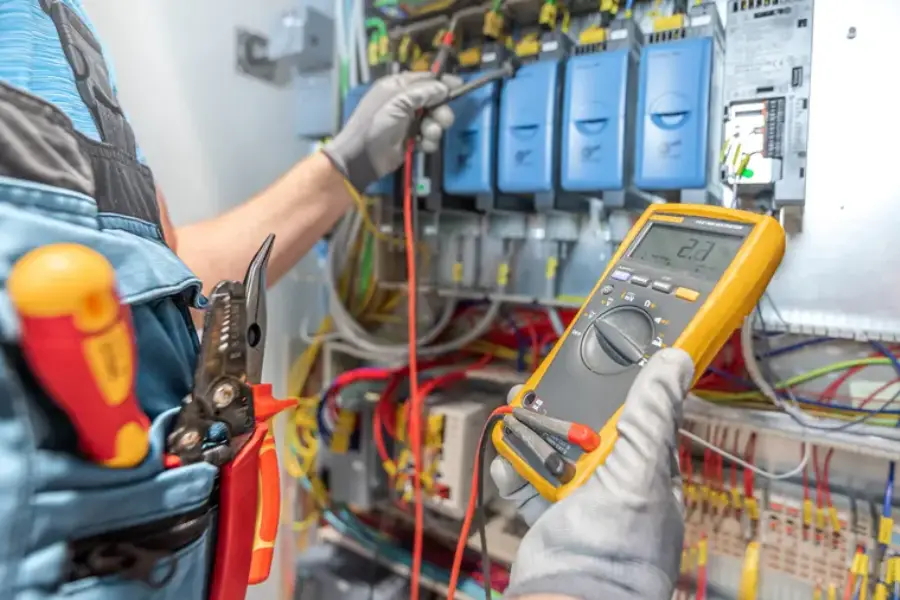
What You Need Before Work Begins
Before electrical panel installation starts, a few things must be in place. First, the electrician checks your current system. They look at your main breaker, grounding, wiring size, and meter location. They also confirm the amperage needed for your home.
You may need:
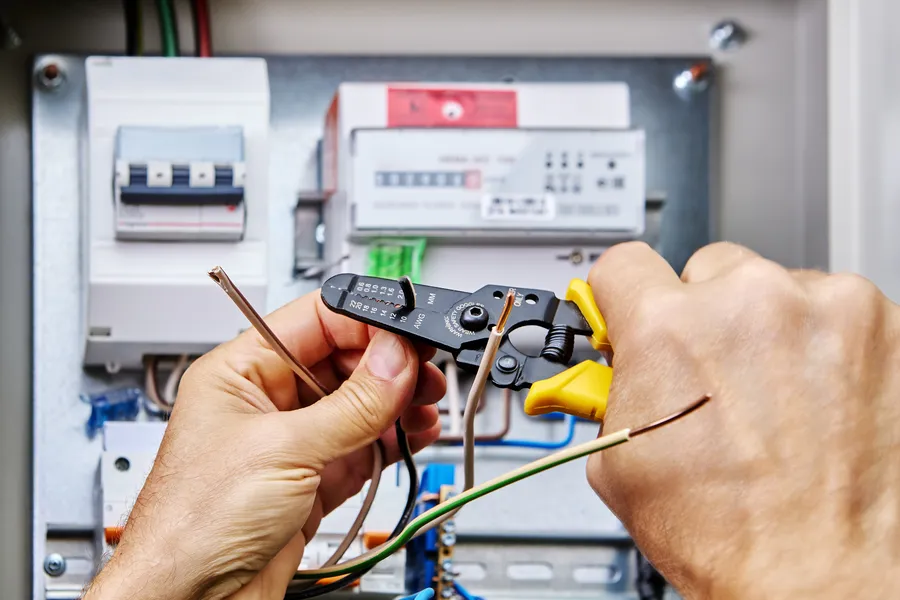
- A permit from your local building department
- Approval from the power company for a temporary shutoff
- Clear space around the panel area
- Access to all rooms for circuit testing
If the panel is outdated, damaged, or too small for modern appliances, replacement is often the safest option. Homes with old fuse boxes or 100-amp service often upgrade to 200 amps.
Step-by-Step Process
Here is how electrical panel installation usually happens:
- Shut off power. The power company disconnects service at the meter.
- Remove the old panel. The electrician labels and disconnects each circuit wire.
- Install the new panel box. The panel is mounted securely to the wall.
- Reconnect circuits. Each wire is attached to a new breaker.
- Upgrade grounding if needed. Ground rods or bonding may be improved.
- Install the main breaker. This controls power to the entire home.
- Inspection. A city or county inspector checks the work.
- Restore power. Once approved, power is turned back on.
After power returns, the electrician tests each circuit. They make sure lights, outlets, and appliances work correctly. Labels are added so you know which breaker controls each area.
Common Mistakes to Avoid
Electrical panel installation is not a simple DIY project. Mistakes can cause fire risks or failed inspections. Here are common problems people run into:
- Choosing the wrong panel size
- Overcrowding breakers
- Poor grounding connections
- Skipping permits
- Not labeling circuits clearly
Another issue is mixing old and new wiring without checking compatibility. Some older homes have aluminum wiring that needs special connectors. Skipping this step can lead to overheating.
When to Call a Professional
You should call a licensed electrician anytime you need electrical panel installation or a service upgrade. Working inside a live panel can cause severe shock. It can also damage expensive appliances.
Call for help if:
- Breakers trip often
- Your home still uses fuses
- You are adding large appliances
- You are renovating or adding rooms
- Your panel feels warm or smells like burning
A trained technician understands local codes and inspection rules. They also carry proper tools and safety gear. Most professional installations include coordination with the power company and final approval from inspectors.
Final Recommendation and Next Steps
If you live in Columbus, IN and are planning electrical panel installation, we can help you understand your options and schedule the work safely. At Wayne Meyer Electric LLC, we handle permits, inspections, and full service upgrades from start to finish. Call (812) 528-1417 to speak with our team and get your project moving with experienced electricians who put safety first.